Not long ago I was still reading mistakes about the description of a type of setting chosen for a piece of jewellery and the name of it. Working in the jewellery industry, I am familiar with the trade and the different types of settings. But I realise that the subject is much more complex for people outside the trade ad sometimes difficult to explain. I will therefore try to shed some light on this and make this important step in the making of a piece of jewellery more understandable.
I will also add that although not all stones can be set, the vast majority can be. Including some very fragile ones like fluorite or sphalerite. It is more the talent of the setter and his mastery of his tools than the stone that will make the difference…
Finally, it is sometimes possible to combine several techniques to set stones and thus better highlight the gems.
- The so-called “grain” setting
This setting consists for the gem setter in releasing thanks to scoops and directly in the metal small grains which will come to hold the stone. In order to make the setting more harmonious, the grains are beaded with a tool called a perloir to give them the appearance of tiny balls. This setting is very common and is perfectly suited to pieces with pavements of gems. To perfect this setting, the gem setter will create a sort of channel to highlight his work: the fillet.

Example of a bead setting. Photo : Florian Lambert
- Star setting
A variation of the classic bead crimp, well known to crimpers, consists in creating a star at the stall to highlight the beads. This crimp is not often used today, but it had its heyday in the middle of the 20th century, especially on ball rings.
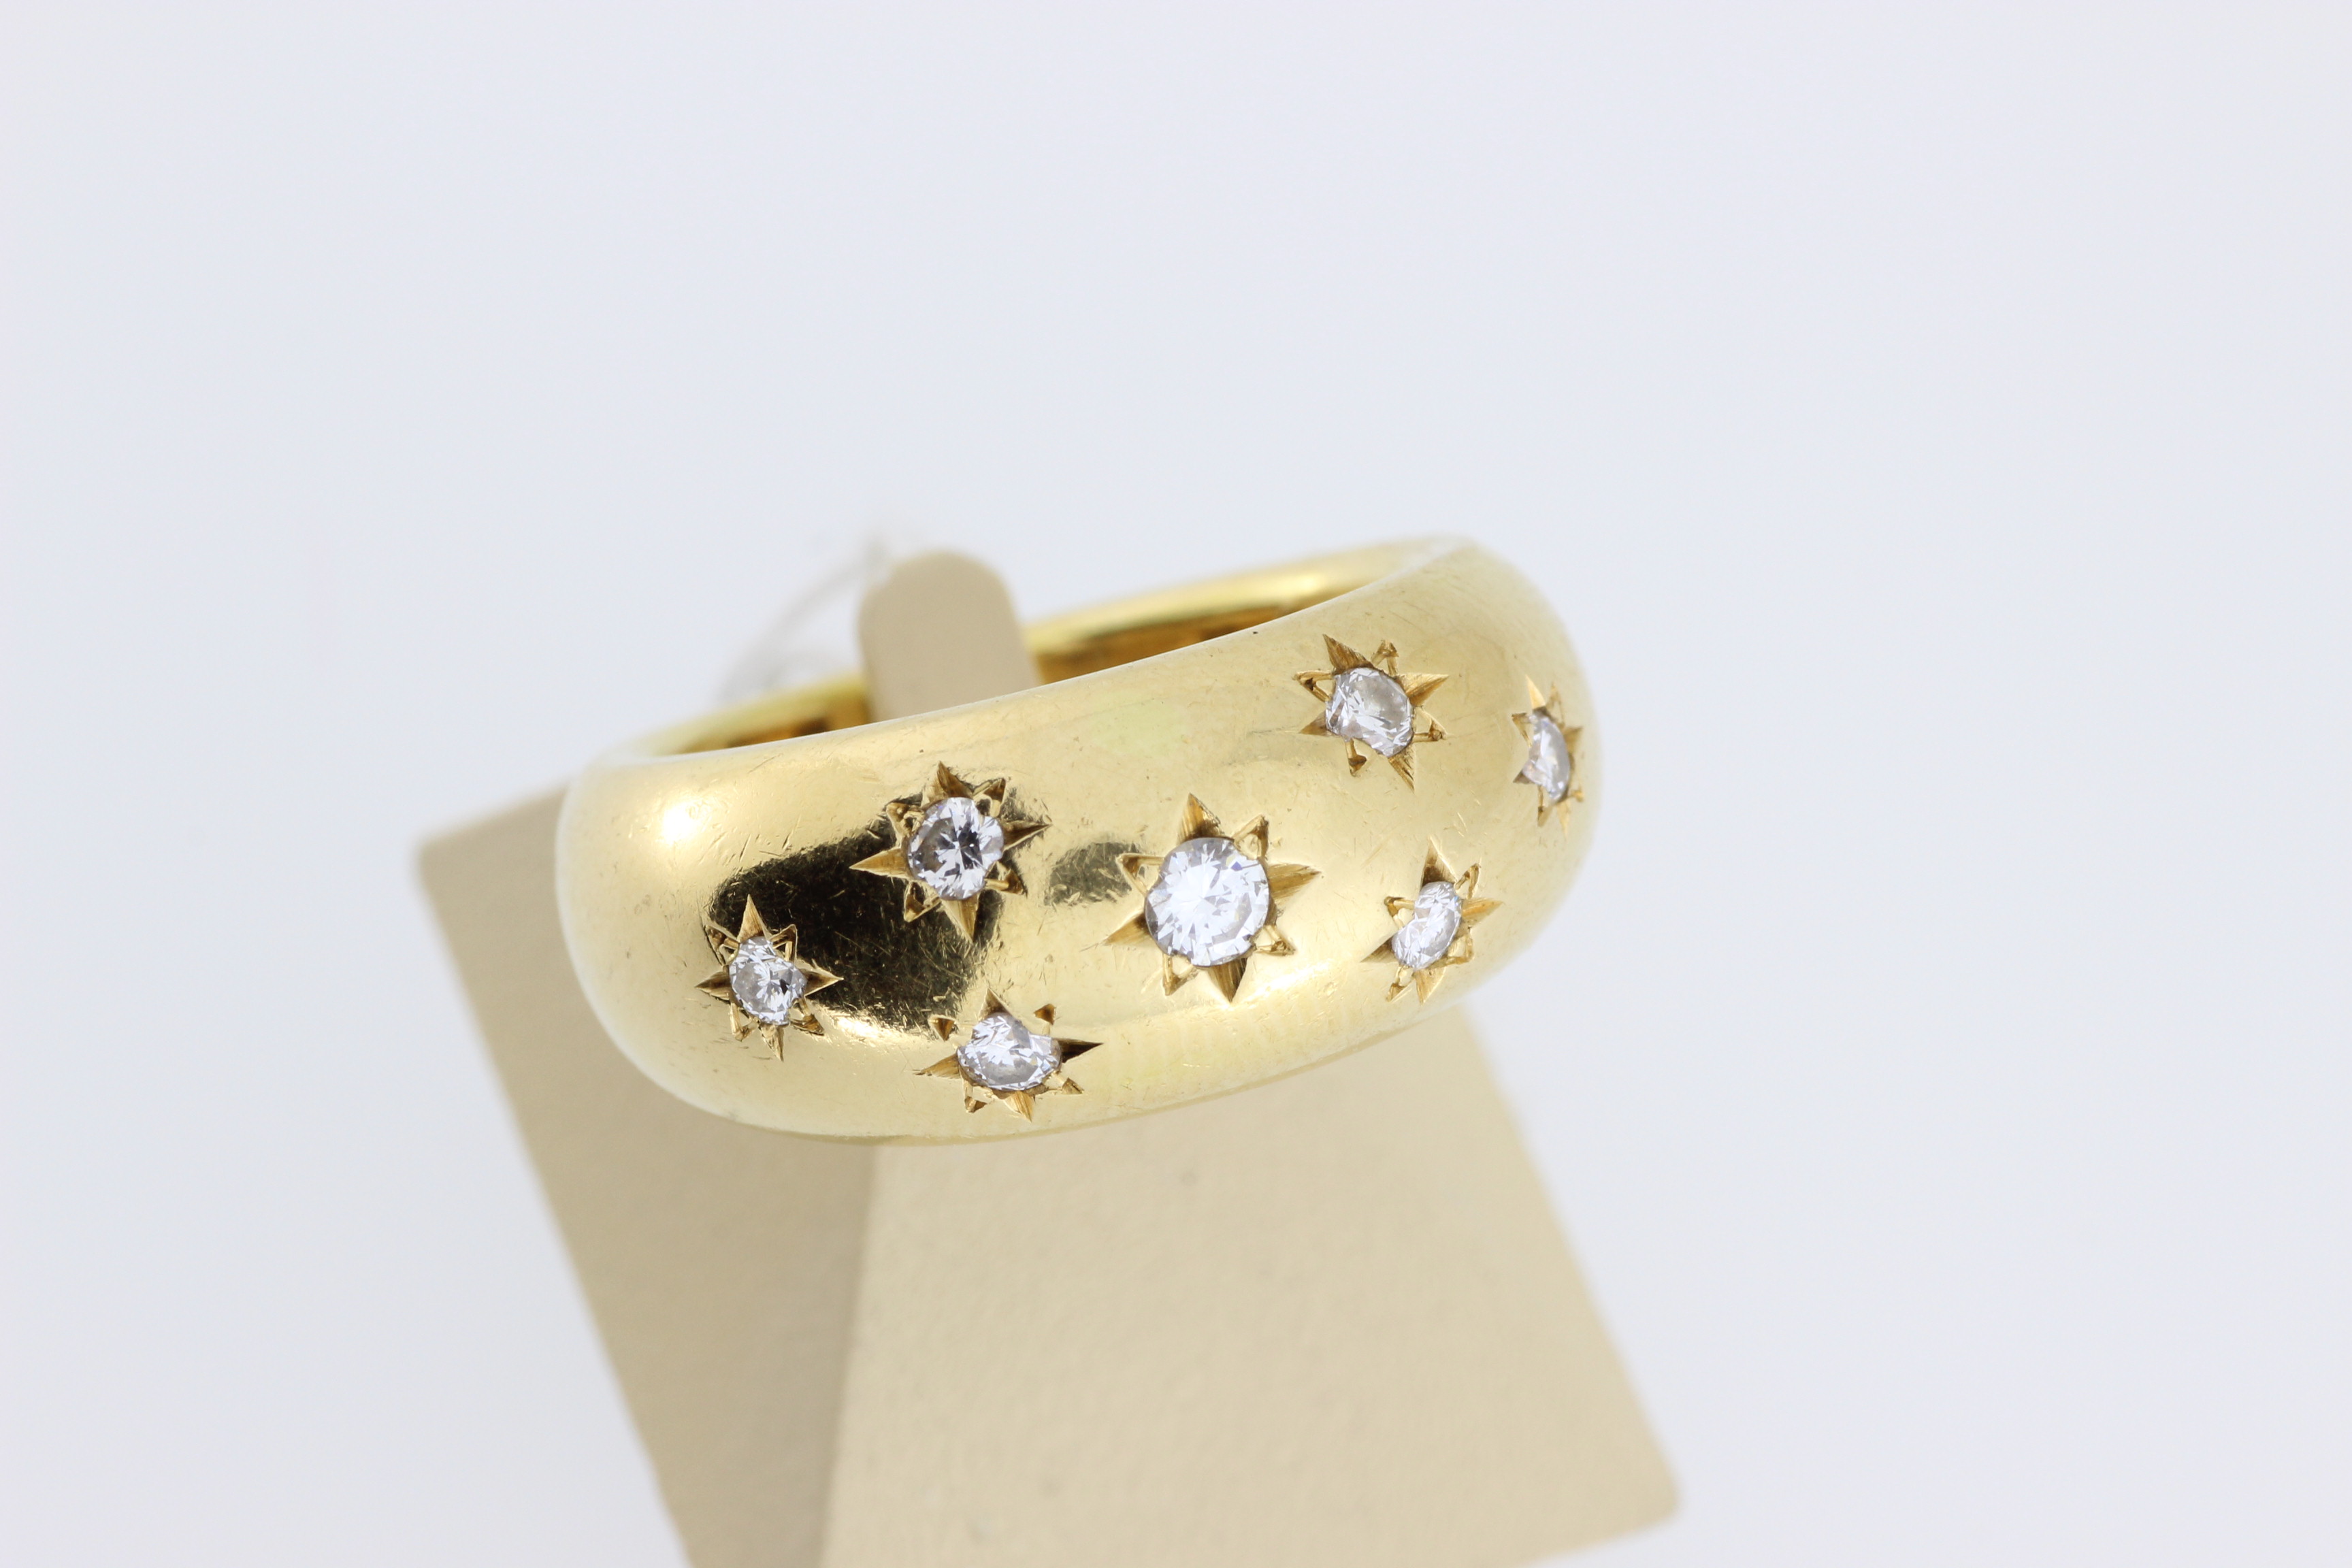
Star setting. Photo : Cannes Enchères
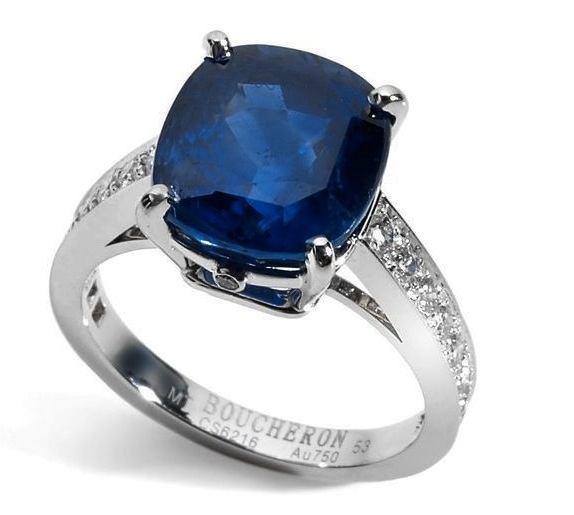
- The closed setting and the half-closed / semi-closed setting
This technique consists in setting the stone in a setting. To put it simply, it is a kind of box at the stone’s sides and may, depending on the size of the gem, have a bottom. The setter will then hammer the metal all around the stone and then create a border called a fillet. If the metal does not go all the way around the stone, it is called a semi-enclosed or semi-closed setting.
Semi-closed or semi-closed setting. Photo: Diamants Infos
- Mysterious setting™ or invisible setting
The term “mystery setting” is a name registered by the high jewellery house Van Cleef and Arpels. It is a setting technique that was invented by the Langlois house around 1929, it was later patented as “invisible” by Cartier in 1933. But the name was registered by VCA in 1936. It is a very particular technique which consists in setting calibrated stones without the metal being visible. In order to achieve this, the stones are cut in a specific way that allows them to slide between metal “T” rails. To do this, the gems are prepared by the lapidary and have parallel grooves near the breech. The result is absolutely astonishing and aesthetically very interesting, but requires a very close collaboration between jewellers, lapidaries and setters.
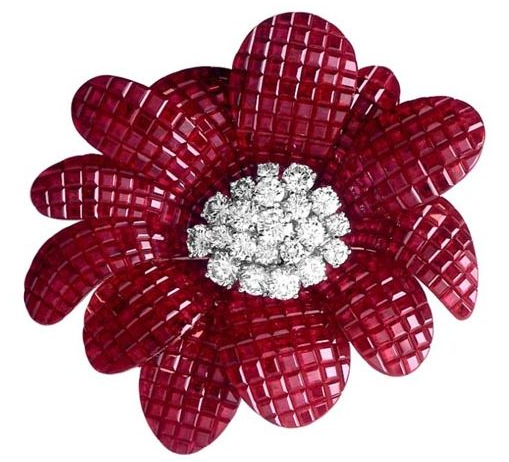
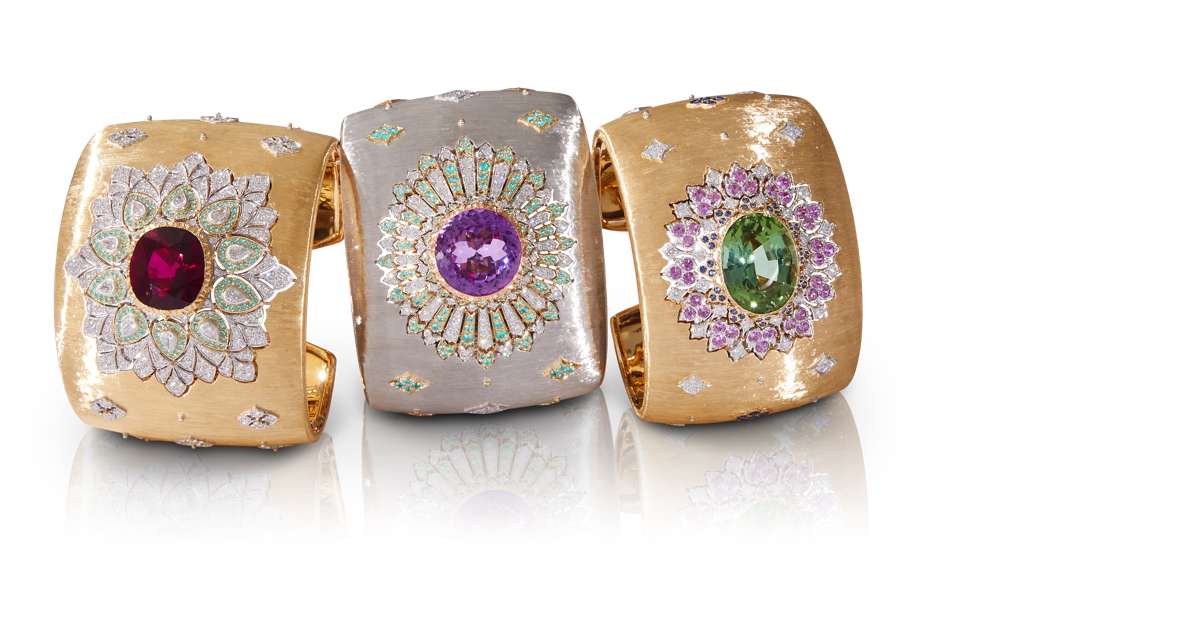
The petals of this flower are in the Mystery setting. Photo : Van Cleef and Arpels
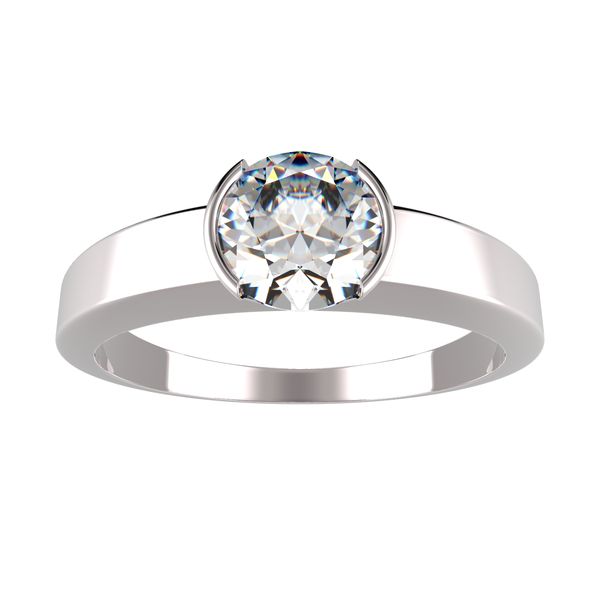
- The “rail” setting
This setting has absolutely nothing to do with the mystery setting. However, it is often confused with it. It consists of sliding the stones on a rail that the setter will then hammer. Unlike the mystery setting, the rail only works for one line of stones. Ideally suited for baguette, rectangle or calibrated sizes, it is sometimes used with round stones. There are now versions where a rail frames a single stone. This is called a bar crimp.
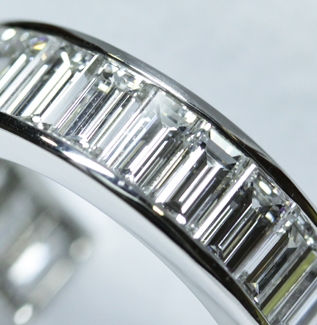
Rail setting. Photo : Gemmantia
- Chip crimp, sometimes called “moustache crimp” in the trade
This setting is often confused with a closed setting. Here, the stone setting is slightly conical and therefore slightly more flared at the top. This trick gives the impression of a fillet and therefore of a closed setting. In reality, the stone is lowered and blocked by force, but the setter does not hammer the metal around the stone to block it. He will use his tool to create micro claws to stabilise the stone a little more. It is a setting that is often not very aesthetic and quite fragile. Personally, I don’t think it’s a good idea because you risk losing the stones very easily. I therefore strongly advise against it. On the other hand, the technique is often used as a complement to an old closed setting on which the metal would be quite worn or located on a piece on which a jewellery intervention would be risky. It allows to block a stone and to stabilize it. But it is really a technique to be used in rare cases.

On this diagram, the technique is well understood. You can see the conical setting in red and the small “chip” of metal that comes back on the stone to block it. Photo: Forum Bijoux à la Cheville
- Massed setting
This is a setting perfectly adapted to rounded surfaces. It consists of lowering the stones into the mass of the metal and bringing it back all around the stone thanks to the hammering machine. With this technique, the stones are flush with the metal. Here, unlike the closed setting, there is no real net around the stone.
- The so-called descended or upright setting
This type of setting is in principle only used to set round stones of the same diameter on a metal band. It looks like a bead setting, but in reality it is very different. It consists of very small claws cut by the crimper at the shop. At the end, the edges are cut back towards the base to visually release the stone.
- Claw crimp
As the name suggests, the stone is held in a bezel by claws. These are metal wires that are bent, hammered and cut by the setter. They can be spiked or “bolted”. In some cases, the crimper can also create a thread in the claws. The most common crimps nowadays have 4 or 6 claws. But there are more decorative versions depending on the stone. This is an extremely common setting for setting large centre stones.
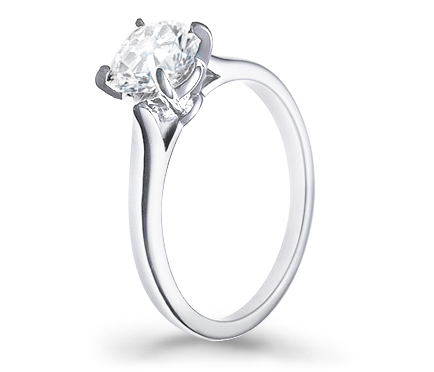
Four prong setting. Photo: Cookson-Clal
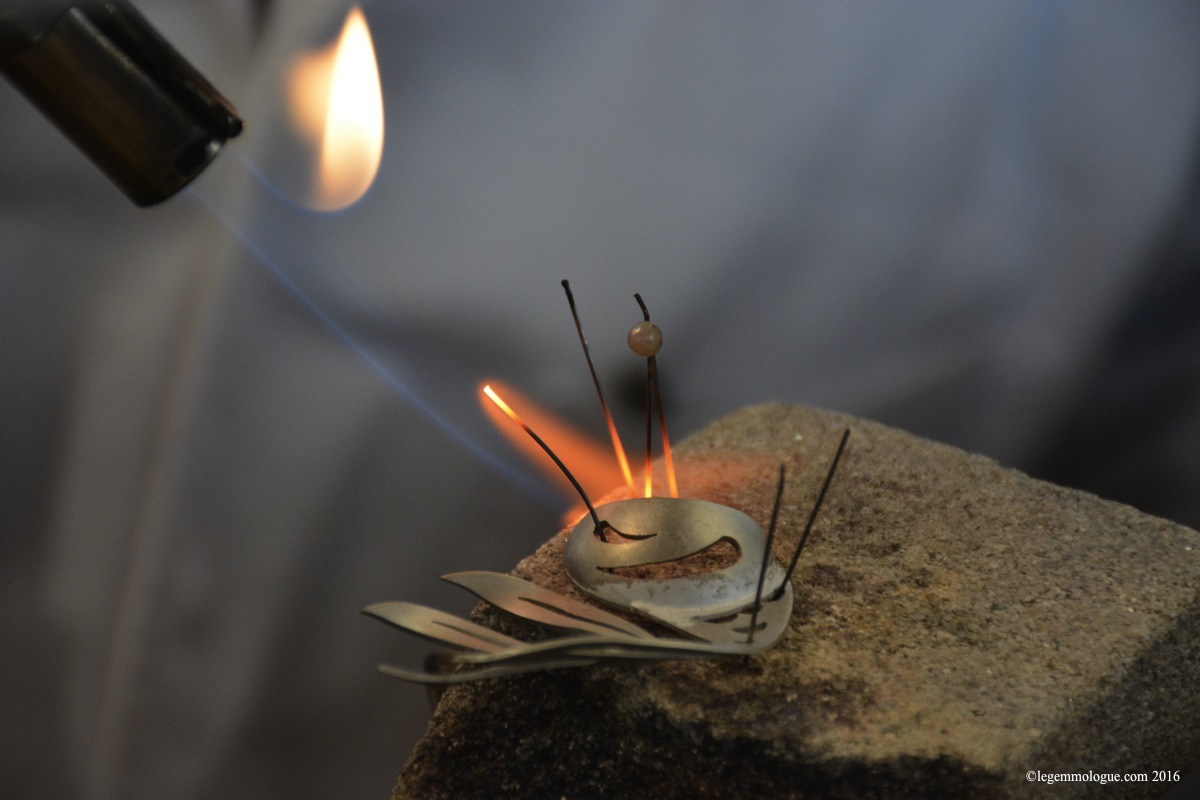
- Nail setting
This technique is often confused with the claw setting. In reality it involves metal rods that are cut, soldered to the piece and hammered to stabilise the stones. Here, the metal is not folded back like for claws.
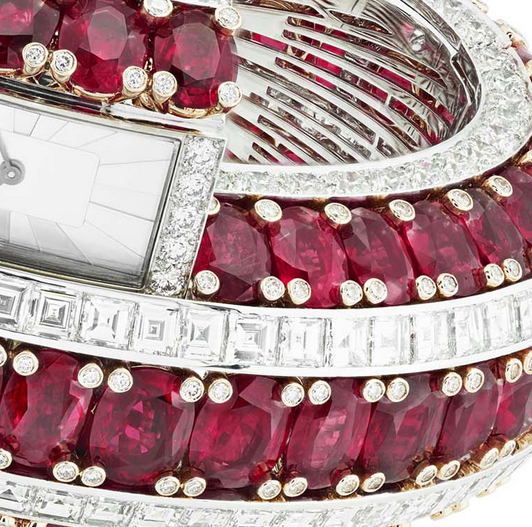
The rubies of this Van Cleef and Arpels watch are set with the so-called “nail technique”. The nails are then set with diamonds using the closed setting technique. Photo : Van Cleef and Arpels
- Tension setting
This technique consists in setting a stone by playing on the spring effect of the metal. The result is quite astonishing as the stone seems to float although it is actually perfectly seated in the setting. Niessing is particularly familiar with this technique.
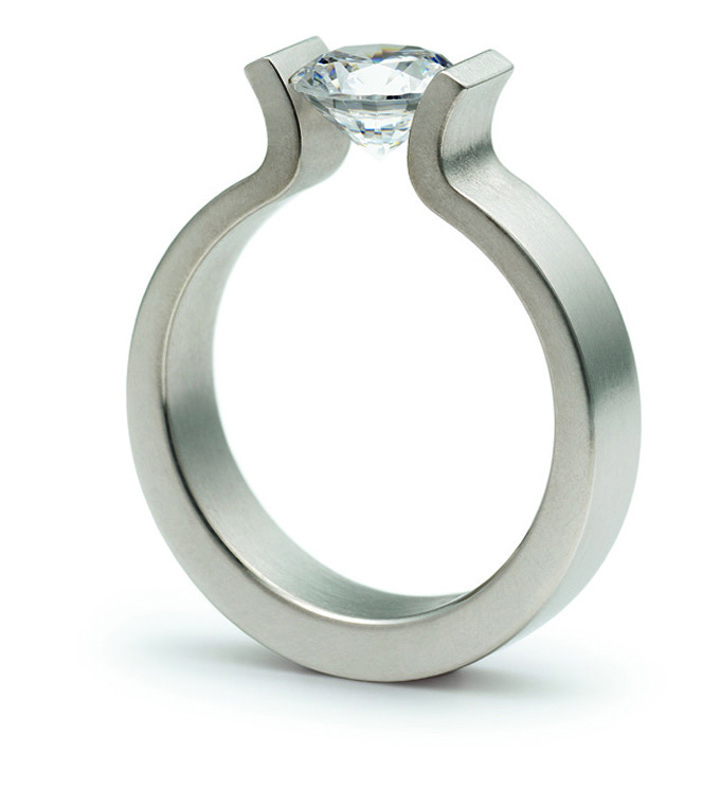
Tension setting. Photo: Niessing
Through this article, I have tried to help you discover and understand the different types of settings possible for gems. It is also a profession that evolves and that initiates new renderings on the pieces. Nevertheless, the different techniques illustrated above represent a wide range of possibilities. Do not hesitate to leave me a message if you have a suggestion. I’m listening to you!
See you soon!